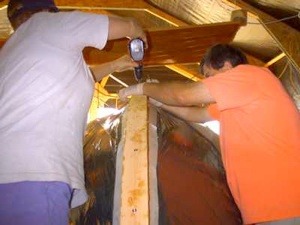
After making a new batch of 1/4 inch strips, applying epoxy, and suitably masking the bow area with lots of packing tape and split trash bags we laminate the outer stem in place. Starting at the sheer line and spacing long screws with washers every 8 inches we bend the laminations onto the inner stem to ensure an exact fit. Here I align the stack of strips while my wife, Barb, drives the screw. 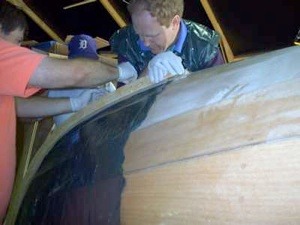
The male members of the crew do the heavy bending while Barb drives the last screws in. We laminated about half of the strips for the bow on the boat. The full thickness had too much spring-back for the screws to hold, so the second half of the stem will be glued up on the bench using the cured stack above as a pattern for the hull's shape. Our friend, Wayne, has been a huge help on the boat building projects. The outer stern, being only 2 inches deep, was done in one step, on the boat as well.
Once cured, the first laminations of the outer stem are jigged up and the remaining layers added. This assembly is 3 inches wide by 2 3/4 inches deep. After the entire assembly has set up it will be cleaned up with the planer, and finally planed to its final shape. 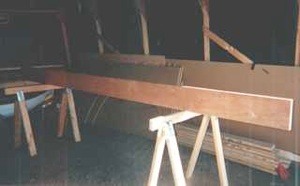
This is how the inner stem and stern laminated posts began life. The board is a 1-1/2" x 9"x 14' plank of absolutely beautiful, clear, and tight-grained Douglas Fir.
After cutting it into two seven foot lengths, the planed faces are rough sanded to give the epoxy a good surface to bond to. Then the two boards are epoxied together. I use WEST System resin/hardener with their #403 gluing additive. A nice feature of laminating the strip stock is that the glue line in the strips makes a handy centerline. Once cured, the now 3" thick plank was ripped into 1/4" strips for laminating. The stock produced 18 strips-comfortably enough for the inner stem and stern posts. The red glow in the photo is from a heat lamp suspended just out of the picture. It allows me to control the cure regardless of weather.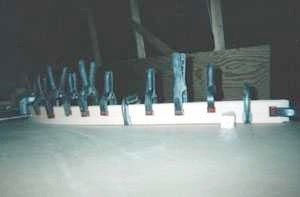
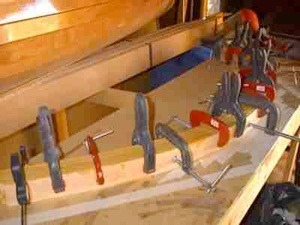
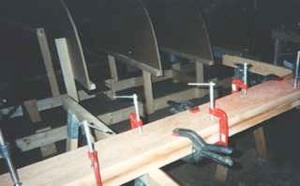
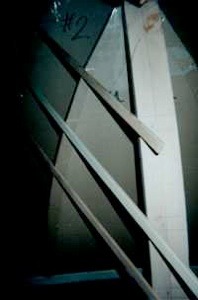
I always do a "dry run" before mixing the epoxy, just in case of a problem such as a strip cracking. It happens. This is the inner stern post. As Iain Oughtred puts it- you'll need more clamps than you've ever seen in one place before.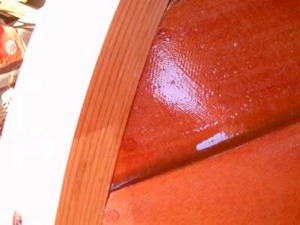
It's hard to see here, but the stem is beveled back to about 45 degrees, leaving the forward face the correct width. It will be faired on the building frame later. The stern needed less than 45 degrees of bevel.
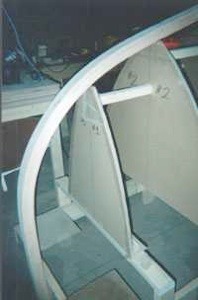
Finally, the laminated stem post is test-fitted on the building frame, it is not yet beveled in this picture nor is the scarph for the hog cut. Like the Wee Rob canoe, the stern will be the main challenge in planking the hull.
This is the actual gluing operation. As always, use of the heat lamps (and thermometer) help keep things moving along and reliable in our cool climate.
Once the correct position is found, battens are used to check for the correct alignment of the plank lands. The batten is tacked to a few station moulds and the curve carried forward to the stem (and aft to the stern) so that we can be sure the planks will contact the stern and stem as designed. Finally the bevel is cut back to its final angle.